Hello!!
Yes, I'm back to share something new with you.
I know it has been 6 months since I posted but
Yes, I'm back to share something new with you.
I know it has been 6 months since I posted but
I wanted to update my blog
and share a new "crafty make" with you!
First, I want to let you know that I
re-opened my Etsy shop this month
then added it to my website,
so I can be found in multiple places now! ;)
I'm currently working on a Faith Journal
with a Christmasy look and feel to it but
I want to share the last journal I made with you.
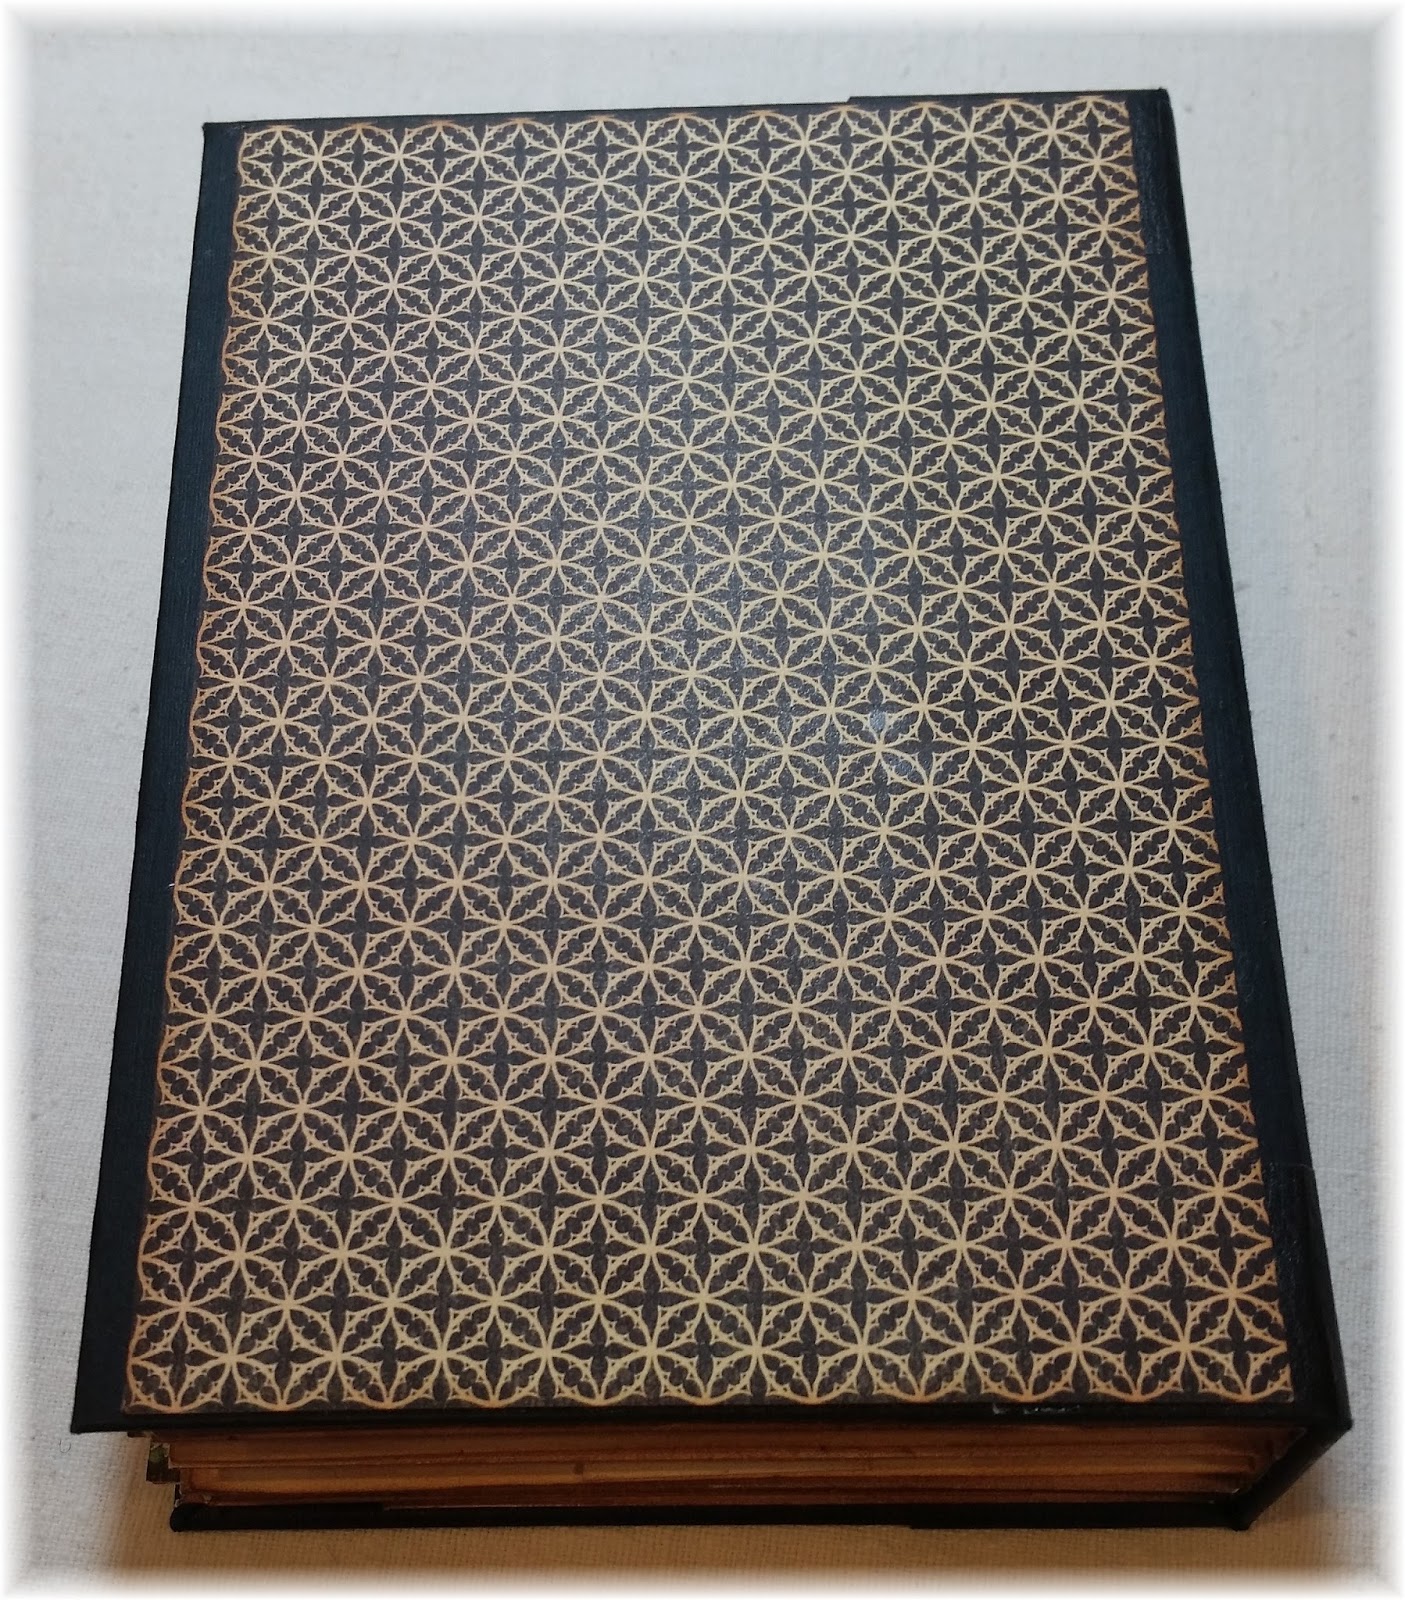
This one is called
"Medieval Moments."
*click photos to enlarge them*
I'm currently working on a Faith Journal
with a Christmasy look and feel to it but
I want to share the last journal I made with you.
This one is called
"Medieval Moments."
*click photos to enlarge them*

Spine and back cover

Pages from front

Center of one of the signatures

Center of another signature

As the title reveals, it is a Medieval-themed junk journal.
If you would like to see more of the inside
please, just click here.
The link will take you to my YouTube Channel.
Thank you for stopping by
Thank you for stopping by
I will try to get back and share
my new journal when it is completed!
Thank you for stopping by!
Merry Christmas and Happy New Year!!
╰⊰⊹✿ Marilou ✿⊹⊱╮
Thank you for stopping by!
Merry Christmas and Happy New Year!!
╰⊰⊹✿ Marilou ✿⊹⊱╮